

KivyMD - Developing a Mobile App Using Python
Combine the Power of Python with the Convenience of Apps


In the world of software development, the main aim is to find an efficient and feasible software solution to a real-world problem. In the process, the overall product functionality and user experience are as important as the way through which the software product and its functionality are presented in front of the customers. Nowadays, users need cross-platform software services that are essentially good-quality, functional, and user-centric software products that are compatible with more than one operating system such as iOS and Android.
Hence, having a mobile application apart from a website and desktop application is a great way to implement a software solution solely because of the reach, convenience, and popularity of cross-platform functionality. With this cross-platform functionality, if you can integrate the power of the Python programming language, you can develop a beautiful software powerhouse. In this article, we will discover a way to develop cross-platform applications using the Python programming language
Prerequisites
To develop mobile applications using the Python programming language, you need to have a little bit of knowledge about some concepts that include:
- Basics of Python programming language
- Object-Oriented programming
- Pip (Package installer for Python)
- Material Design
KivyMD
KivyMD is a Python library that can be used to create beautiful multi-touch cross-platform applications. It is a collection of Material Design compliant widgets i.e., it follows Google’s Material Design specification. It is based on Python's Kivy cross-platform graphical framework.
Before diving deep into concepts of application development using KivyMD, you have to install the KivyMD package in your system. To install KivyMD to your system, just type the following commands in your system's command-line interface (terminal):
pip install wheel Pillow setuptools
pip install kivy kivy-deps.angle kivy-deps.glew kivy-deps.sdl2
pip install https://github.com/kivymd/KivyMD/archive/master.zip
This will install the required packages directly inside the system's environment. To use a custom environment activate the environment first, then install the packages.
Standard Approach For Application Development
The standard/basic approach to implement any application is to divide the whole application into two sections:
- Logic: This includes the functionality of the application.
- Design: This includes the user experience (UX) of the application.
KivyMD follows these concepts and lets the developers separate the logic part and the design part of the application, just like in the case of JavaScript and HTML/CSS. Python file includes the functionality of the application and a separate file with .kv extension is used to store the UI of the application.
KV File
KV File contains the kv language i.e., a domain-specific language that describes the user interface and various interactions of the KivyMD application. It follows a hierarchical structure i.e., it contains a root widget (container) and other components are defined under it.
A Widget is the base building block of GUI interfaces in KivyMD that enables a user to perform a function.
Just like CSS, you can add the design part of the application in two ways:
- Internal KV : In this method a multi-line string variable is used.
- External KV : In this method a separate .kv file is used.
The kvlang (used in KV files) works via indentation and is very much similar to python. The python and KV file of the application are interlinked together with the help of a Builder class.
Let's Code our First App
After all the talking stuff, let's dive deep into actual coding and code a very basic "Hello world" application with Internal KV implementation. Now, open your favorite Python IDE and start executing the below code:
from kivymd.app import MDApp
from kivy.lang import Builder

KV = '''
MDScreen:
    MDLabel:
        text: "Hello world !"
        halign: "center"
        font_style: "H2"
'''

class MyApp(MDApp):
    def build(self):
        self.root = Builder.load_string(KV)

MyApp().run()
After running the above program you will see this output:
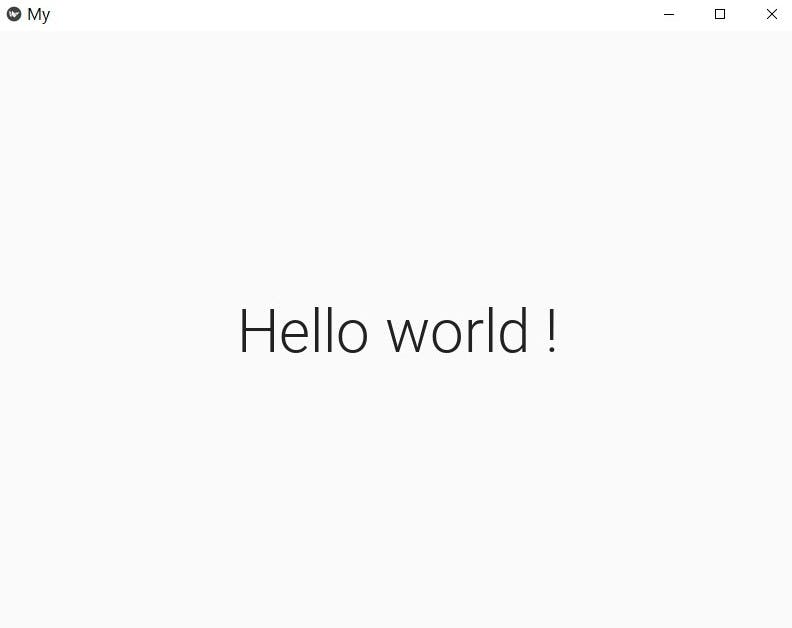
Congratulations !!! You have made your first App using Python !!!
How it works?
Let's understand the working of our newly created Hello world app:
Every application made in KivyMD works by creating a class that inherits MDApp class and overrides the build method. The build() method is the entry point for any KivyMD app. It represents the main screen of the application.
As mentioned earlier, we used the Internal KV to define our design inside the multiline string variable KV. The Builder class (imported in the first two lines) binds this KV variable with the build() method of our application.
The KV variable contains a root widget named MDScreen. This is the main screen of your application. It contains a widget called MDLabel. It's just a container that displays text on the screen, which can be formatted based on attributes like font_style, halign (horizontal align), etc.
The last line of the code creates an object of class MyApp() and calls the run() method of the parent class (MDApp) and executes the app by implementing the build() method.
In this application, we used only a simple MDLabel widget. There are tons of cool widgets available in the KivyMD package, all of which can be used to create several beautiful applications. You can learn more about them and their working in this guide.
Conclusion and Further Reading
In this article, we explored just the tip of the iceberg of developing cross-platform applications in Python. We learned about the KivyMD package and built a basic Hello World app using it. KivyMD is new to the application development world and thus, is updated and changed a lot. Therefore, before developing a new application, always remember to refer to the official documentation and stay updated with the latest release of KivyMD.
Leave a Like, if you find this helpful. Ciao !!!